Over time, car headlights tend to become cloudy and hazy, negatively affecting the quality of illumination, that is why we decided to tell you how to polish car headlights at home. While it’s possible to purchase new headlights for replacement, it can be challenging to find the right set quickly, and the cost can be relatively high. Therefore, it’s worth trying to polish the headlights yourself initially. In doing so, it’s crucial to follow a few rules and recommendations.
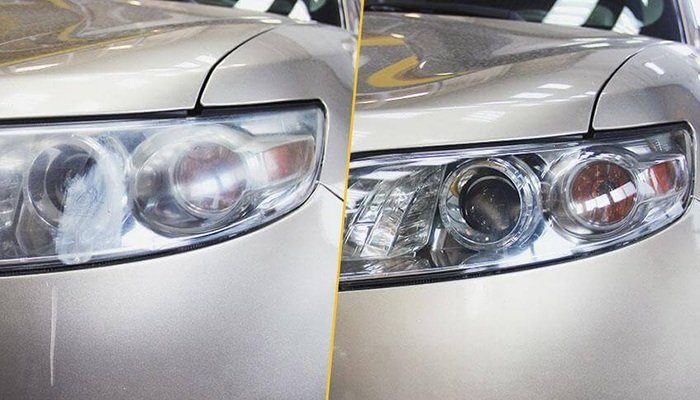
Car headlights before polish and after
Why do car headlights become cloudy?
First, let’s delve into the reasons behind the clouding of the main optics. There are essentially two primary causes:
- While driving, headlights are exposed to sand, resulting in pebbles, dust, and particles damaging the surface of the optics, causing it to become cloudy.
- Another widespread cause is improper care. Often, the car owner inadvertently contributes to headlight clouding by wiping the dirty surface of the optics with a dry cloth. This is a fairly common situation where, on the one hand, it seems like the dirt is being removed with the cloth. However, in reality, the driver is merely smearing the dirt and scratching the surface with tiny dry particles, leading to cloudiness.
Certainly, the optics can also turn yellow and become cloudy due to aging. However, in such cases, resolving the problem through polishing can be very challenging, almost impossible.
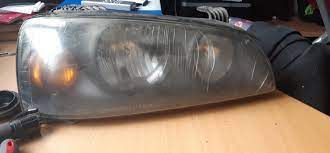
Old Hyundai headlight
Polishing car headlights at home
Conditionally, two methods can be distinguished to help clean and remove cloudiness from the headlights with your own hands. The first involves using specialized chemical agents and equipment, requiring more time and effort. The second is a simplified option, commonly known as a DIY life hack.
Polishing with special compounds and sanding
In this case, it is advisable to acquire a special polishing compound in advance. Nowadays, various mixtures can be found in stores, and it’s best to get several pastes with different grit sizes. An ideal set for headlight polishing should also include the following items: sandpaper with grit sizes P1000, P1500, and P2000; a sanding machine or an electric drill with variable speed control; painter’s tape; and different softness foam pads.
Before starting the procedure, you need to prepare the car—take painter’s tape and carefully cover the headlights around the perimeter. Additionally, apply several layers of tape parallel to cover all major adjacent body panels and the radiator grille. This is done to avoid damaging the car surface during sanding.
When working with a sanding machine, it is essential to follow safety guidelines. If you have no experience using this tool, it is better to consult professionals; otherwise, you risk causing more harm than good.
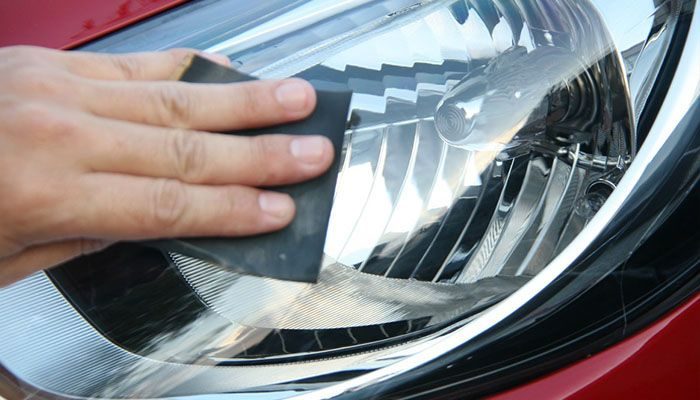
We rub the surface of the headlight with sandpaper, in order – from coarse to fine
To begin sanding, use sandpaper wrapped around a small wooden block for convenience, and rub it thoroughly in circular motions until visible defects and large scratches are removed. To minimize dust, it is recommended to moisten the sandpaper with water. The process is quite labor-intensive and may take a considerable amount of time.
During the initial stage of headlight polishing, it is recommended to use a coarser polishing compound. Avoid exerting too much pressure on the plastic while rubbing. Work on the surface until it becomes smooth. Then, you can apply a layer of finishing polish, which is finer and helps smooth out minor roughness.
Polishing car headlights at home with a sanding machine
Once you’ve completed the hand rubbing stage, you can proceed to polish with a sanding machine directly. Remember that the plastic will heat up during this process. It’s crucial not to overdo the speed, as excessive heat can damage the plastic irreversibly. Work smoothly, avoid haste, and keep the speed below 2000 RPM. Periodically check the temperature of the headlight surface, and take short breaks to let it cool down.
After this straightforward procedure, turning on the headlights during nighttime will reveal a noticeable difference for the car owner—improved visibility of the road. Of course, the result depends on how accurately each stage is performed.
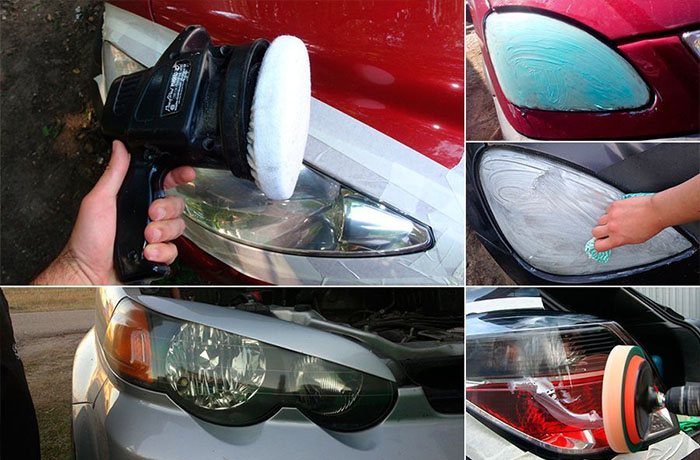
Polishing car headlights at home with a sanding machine
Polishing headlights with toothpaste
This is a DIY method that has received many positive reviews online. It is quick and noticeably simpler to implement than the first method. For polishing, you will need a special whitening toothpaste with polishing particles. Check the packaging to ensure that it contains polishing microcrystals, as these types of toothpaste have abrasive properties.
The procedure for polishing car headlights in this case is straightforward. Apply the required amount of toothpaste to the pre-cleaned headlights. Then, evenly distribute the paste over the surface of the headlights. Wait a couple of minutes for the paste to begin drying, and then start polishing. Rub the headlights vigorously in circular motions. You can use a regular dense fabric or opt for a sanding machine. This method is suitable when the headlight surface has minor damage, and cloudiness has just started. It may not be as effective for more serious problems.
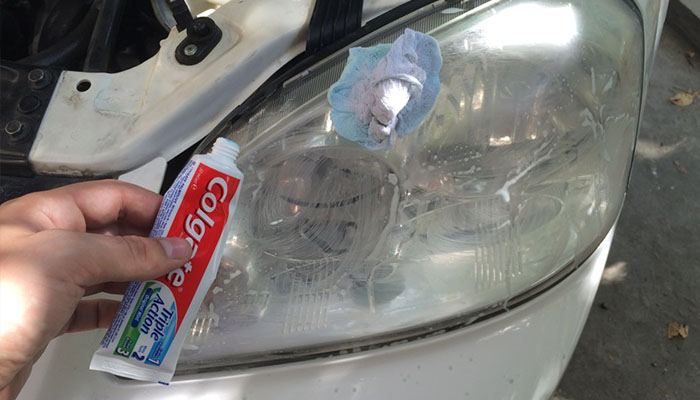
Polishing headlight life hack with toothpaste
Professional headlight polishing
Of course, headlight polishing at home may seem quite challenging, and not everyone may execute the process correctly. The procedure requires a certain level of precision and skill. Therefore, if you have doubts about doing it right, it’s better to seek professional help from a specialized service, such as “Autostarhdrestore”, where experts can quickly restore the car’s optics using professional equipment.
In addition to ensuring that all work is done properly, taking into account all requirements and instructions, the specialized service usually applies a special additional protective layer to the headlight surface after polishing. Typically, a special substance, similar to liquid glass but designed specifically for headlights, is used for this purpose. Such treatment provides protection against moisture, fine sand particles, and dirt. As a result, the headlights will not cloud as quickly.
If you prefer not to engage in the polishing process and consider it a futile expenditure of money and time, you can always replace the old, dimmed headlights by filling out a simple form to find suitable replacements.
Find more interesting car hacks in our blog.


